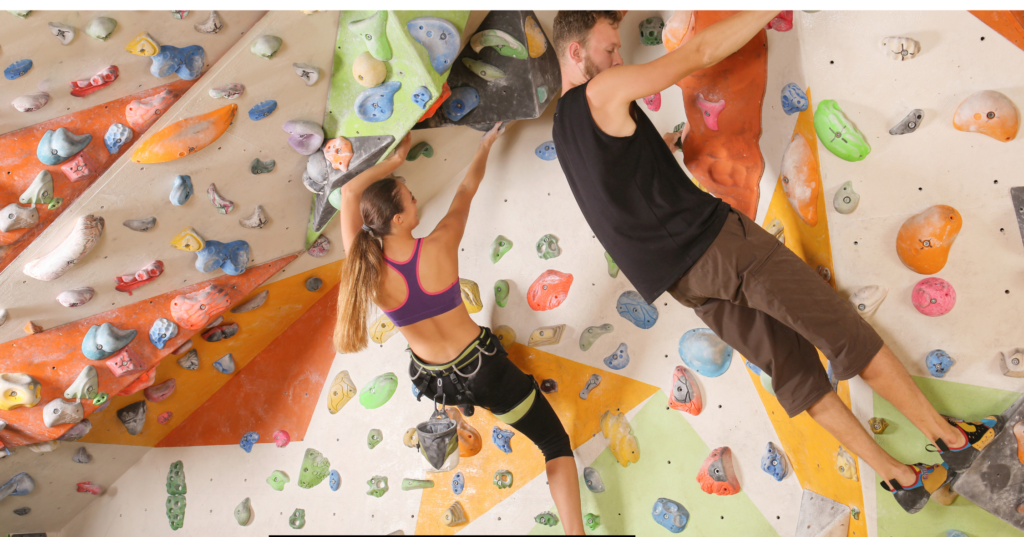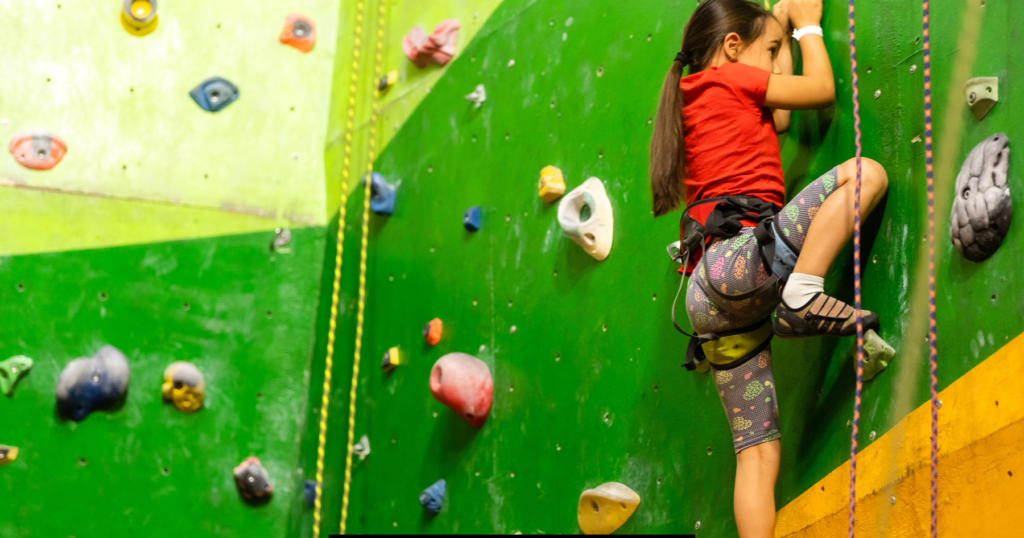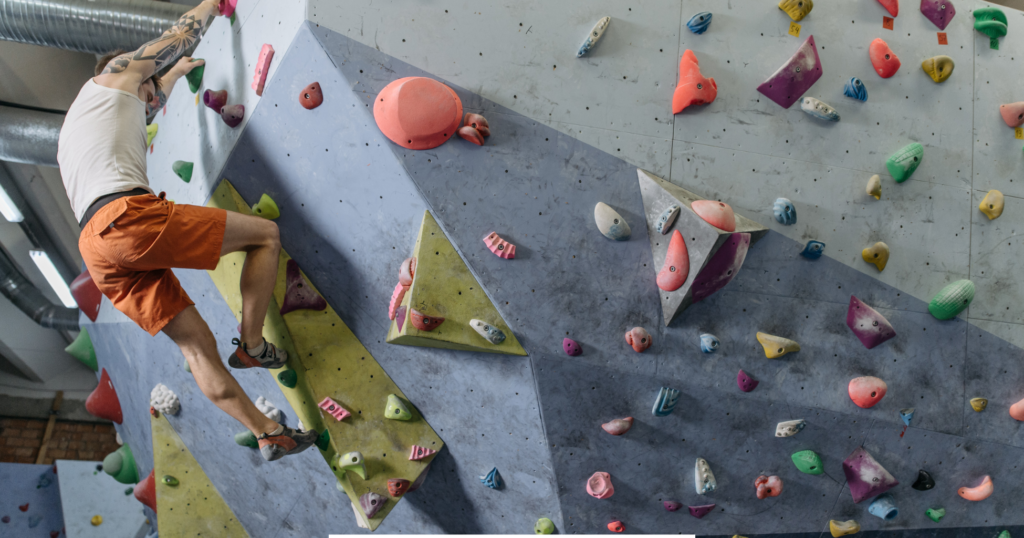
Creating a rock climbing wall at home can be a thrilling and practical way to improve your climbing skills, stay fit, and engage in an exciting hobby. Whether you’re an experienced climber or a beginner, designing and building your own rock climbing wall allows for customization to meet your specific needs. In this guide, we’ll explore the process step-by-step, covering everything from design considerations to installation and safety tips. The focus keyword, rock climbing, plays a crucial role throughout this guide to ensure you make the most of your climbing experience.
Why a Home Climbing Wall Is a Game-Changer
Installing a rock climbing wall at home can revolutionize your climbing practice. It eliminates the need to travel to gyms, provides flexibility in training schedules, and allows you to practice techniques at your own pace. Home climbing walls can be tailored to your skill level and gradually adjusted as you progress, making them a cost-effective and convenient investment in the long run.
Designing the Wall
Purpose and Space Considerations
Before diving into construction, identify the purpose of your rock climbing wall. Are you building it for training, recreation, or to keep kids active? Consider the available space and ensure it accommodates the desired size and layout. Popular locations include garages, basements, and outdoor patios.
Sketch Your Design

Sketching your rock climbing wall design helps visualize the layout. Opt for angles and overhangs that suit your skill level. Beginners might prefer vertical walls, while advanced climbers benefit from varied angles.
Fixed or Free-Standing? What’s Best for You
Rock climbing walls come in two main types: fixed and free-standing.
Fixed Walls
These are attached to existing structures like walls or ceilings. They’re ideal for smaller spaces and require less material but may be challenging to relocate.
Free-Standing Walls
These are independent structures that can be moved. While they require more materials and space, they offer greater flexibility in placement and angles.
Materials Checklist: Everything You’ll Need
To build a rock climbing wall, gather the following materials:
| Item | Purpose | Notes |
|---|---|---|
| Plywood | Wall surface | ¾-inch thick for durability |
| 2×4 lumber | Framing | Structural support |
| Climbing holds | Hand and foot grips | Varied shapes and sizes |
| T-nuts and bolts | Attaching holds | Compatible with hold types |
| Screws and anchors | Securing the frame | Ensure they support the wall’s weight |
| Paint/texture | Surface finish | Enhances grip |
Building the Frame

Step 1: Measure and Cut Lumber
Use 2×4 lumber to create the wall frame. Measure and cut pieces to the desired dimensions.
Step 2: Assemble the Frame
Securely fasten the lumber pieces using screws or nails to form a sturdy base for your climbing wall.
Step 3: Attach the Frame to the Wall or Floor
For fixed walls, attach the frame to a wall or ceiling stud. For free-standing walls, construct a base and brace for stability.
DIY Climbing Wall: Installing Climbing Holds
Step-by-Step Guide
- Drill Holes: Mark and drill holes into the plywood, spacing them evenly for varied hold placement.
- Insert T-Nuts: Hammer T-nuts into the drilled holes from the back of the plywood.
- Attach Holds: Screw climbing holds into the T-nuts using compatible bolts.
- Test for Stability: Ensure all holds are secure and won’t rotate during use.
Safety Considerations
Safety is paramount when building and using a rock climbing wall.
- Padding: Place crash pads or thick foam mats below the climbing area to cushion falls.
- Weight Limits: Ensure the structure supports the weight of climbers and dynamic forces.
- Inspection: Regularly inspect holds and the frame for wear or loosening.
- Supervision: Monitor children or beginners to prevent unsafe practices.
Advanced Techniques and Tips
Once your wall is complete, consider these tips to enhance your climbing experience:
- Route Setting: Arrange holds in specific patterns to create routes of varying difficulty.
- Training Tools: Incorporate hangboards or campus boards for strength training.
- Lighting: Add adequate lighting for clear visibility during climbs.
Creative and Engaging Content
Your home climbing wall doesn’t just have to be functional—it can be a source of inspiration and creativity. Paint a mural, add unique hold shapes, or integrate LED lights for a dynamic climbing environment.
Inspiring Home Climbing Wall Designs
Here’s a glimpse into some unique home climbing wall designs:
- Kids’ Climbing Walls: Brightly colored holds and interactive themes.
- Outdoor Climbing Walls: Weather-resistant materials for backyard fun.
- Minimalist Walls: Simple, space-saving designs for small homes.
Conclusion
Building a rock climbing wall at home is a rewarding project that combines creativity, physical fitness, and personal growth. From design to installation, the process allows you to customize every detail for an engaging climbing experience. With proper planning, materials, and safety precautions, your rock climbing wall can become a valuable asset for years to come.
FAQs
What materials do I need to build a rock climbing wall?
You’ll need plywood, 2×4 lumber, climbing holds, T-nuts, bolts, screws, anchors, and padding for safety.
How much space is required for a home climbing wall?
The space depends on your design, but a minimum of 8 feet in height and 6 feet in width is recommended.
Can I build a climbing wall outdoors?
Yes, using weather-resistant materials ensures durability for outdoor climbing walls.
How do I maintain my climbing wall?
Regularly check for loose holds, inspect the frame, and clean the wall to maintain grip.
Is a free-standing climbing wall better than a fixed one?
It depends on your needs. Free-standing walls are versatile but require more space and materials, while fixed walls are more compact.